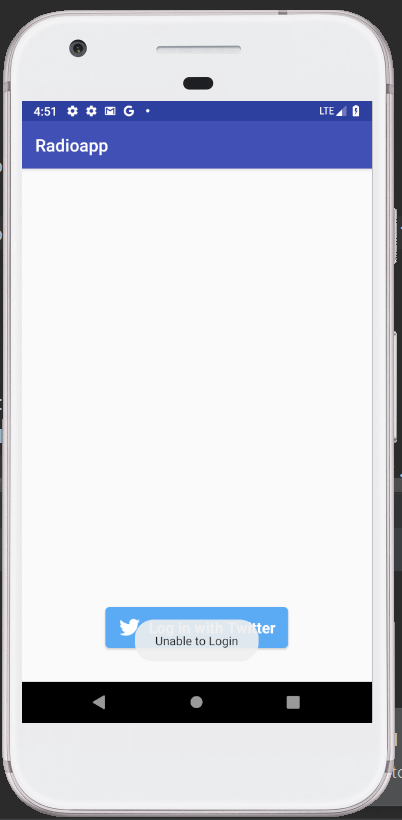
To integrate the Twitter Log-in API into an Android app, the app Consumer Key (API Key) and Consumer Secret (API Secret) is required which can be generated from https://apps.twitter.com/. The Twitter API is integrated into an Android app usually for log-in using the Twitter account, to share tweets, etc.
To generate the Twitter API Key and API Secret:
- Create a Twitter Account at https://apps.twitter.com/.
- Click on the ‘Create an app’ button.
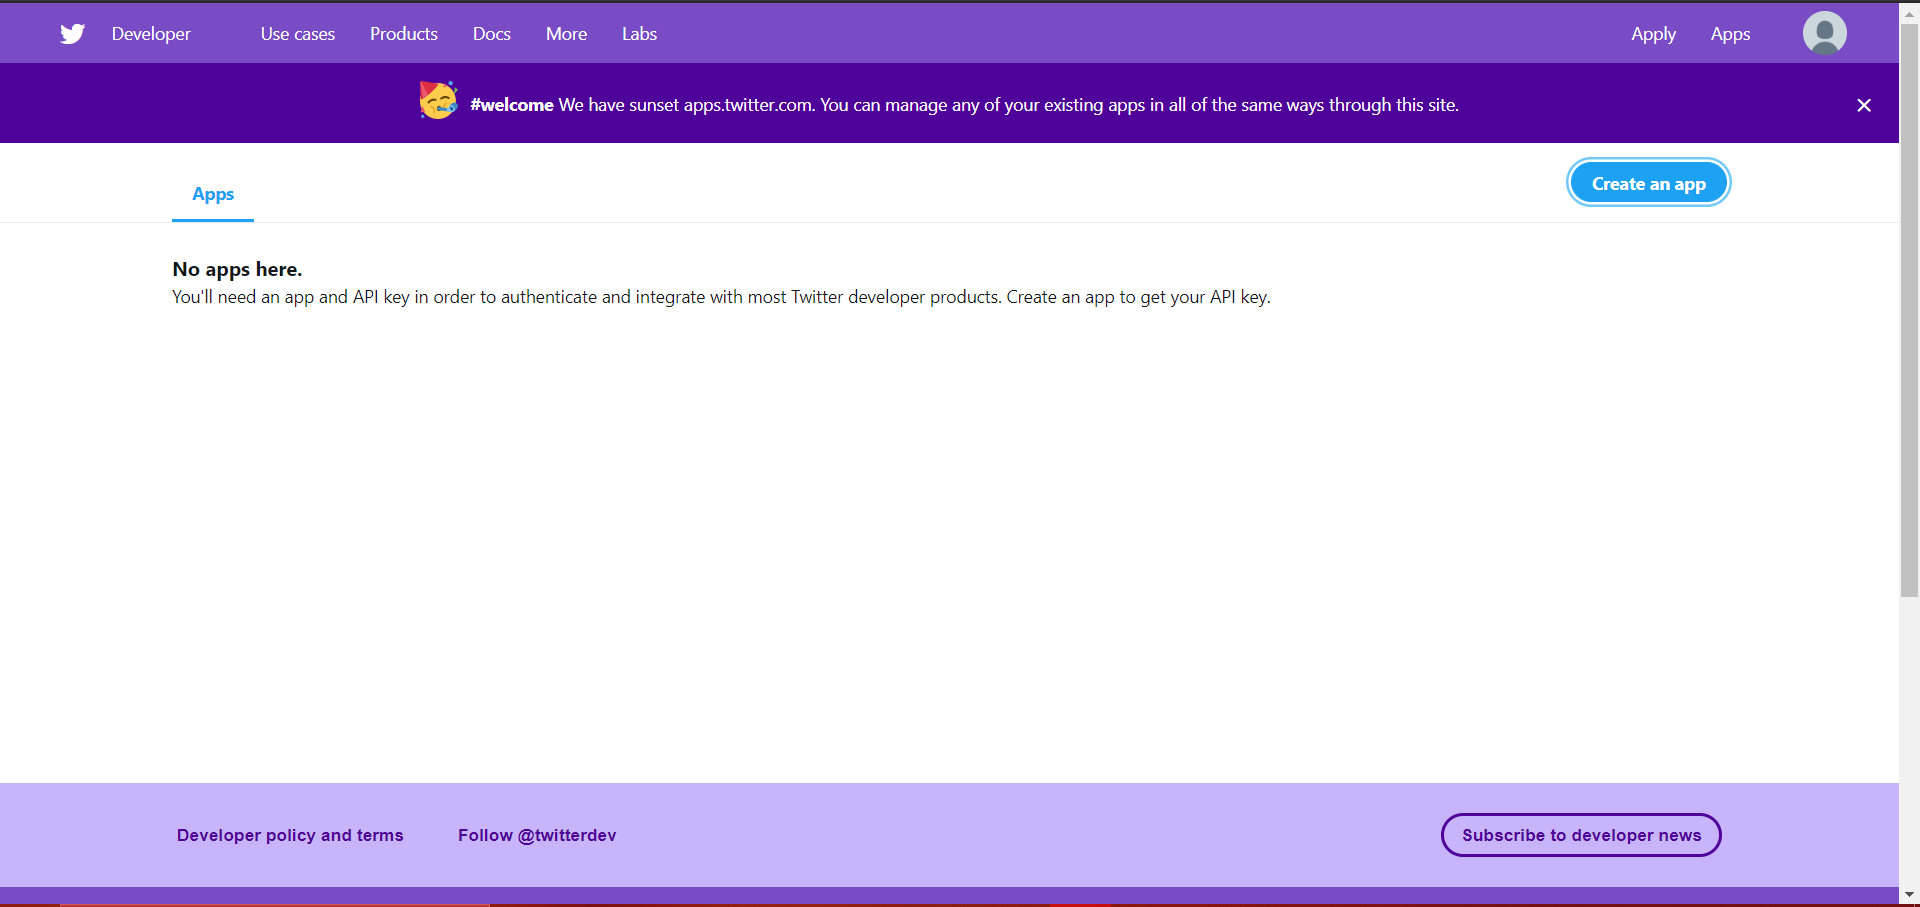
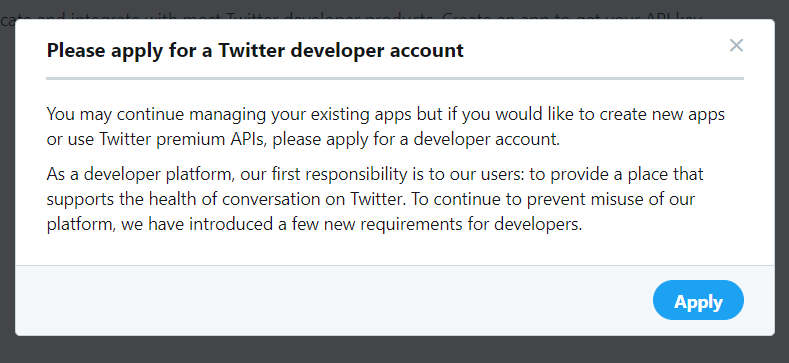
- Click on the Apply button to apply for a Twitter Developer Account.
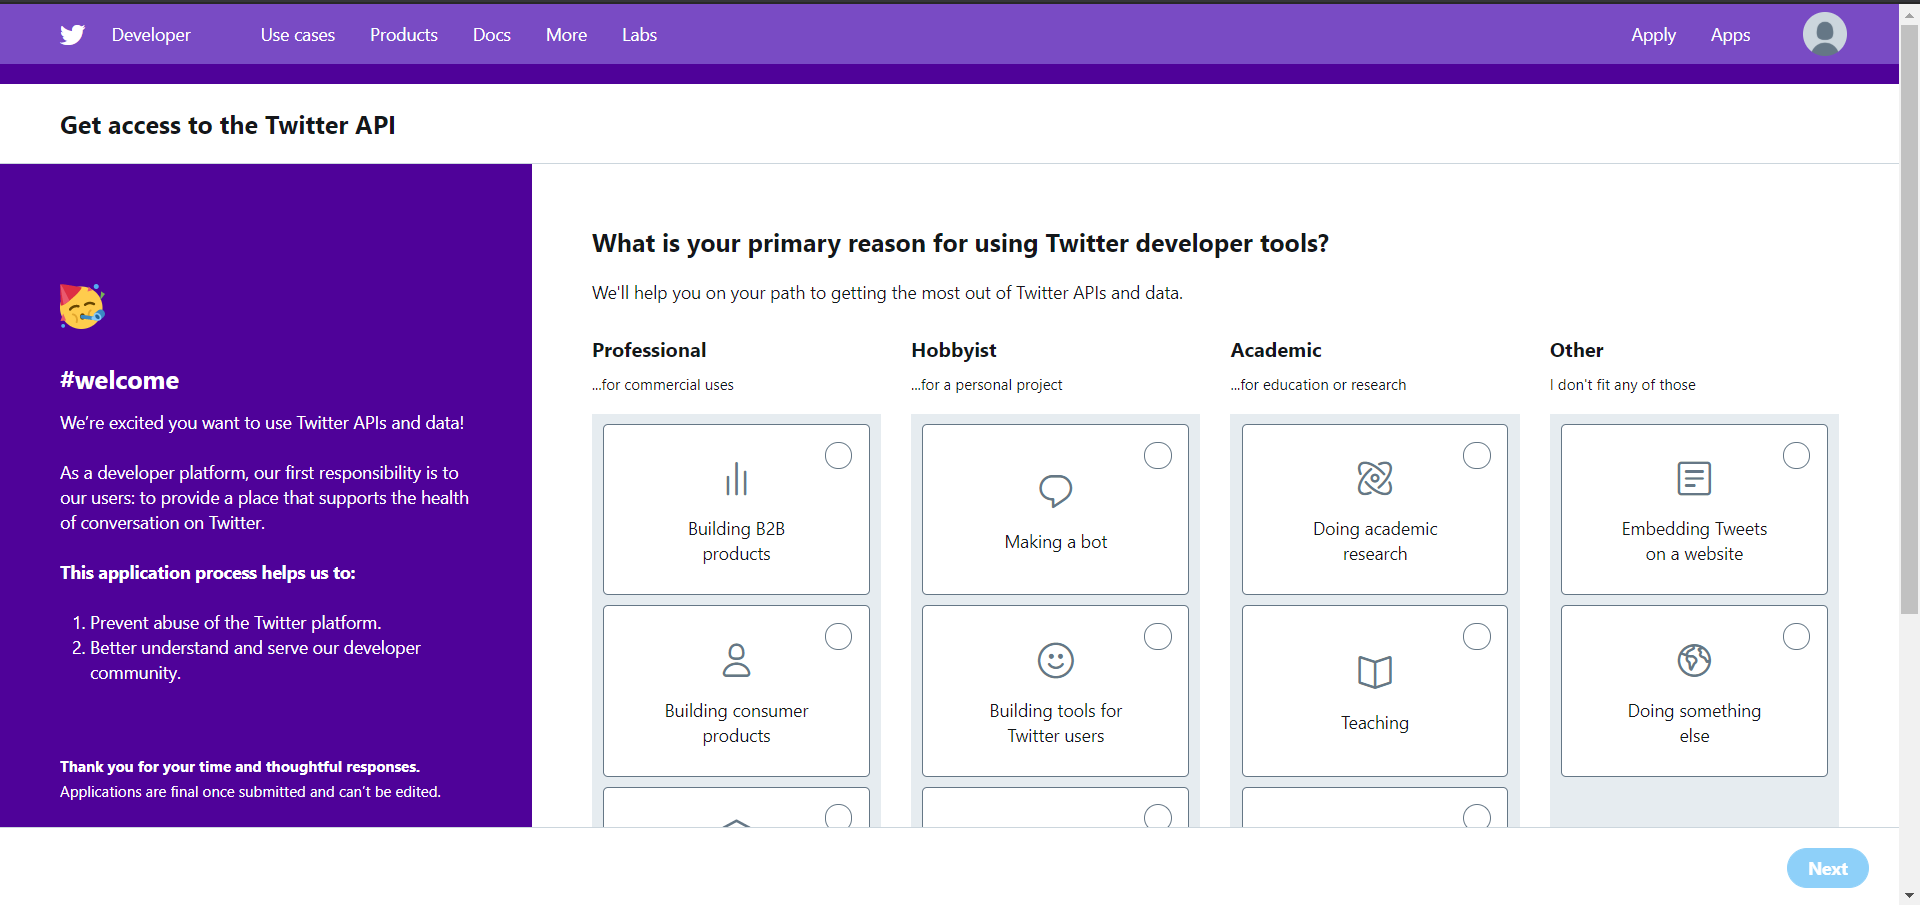
- Click your primary reason for using Twitter Developer Tools.
- Click on Next.
- Your Twitter Developer Account is now created.
- Click on the ‘Create an app’ button to create an app.
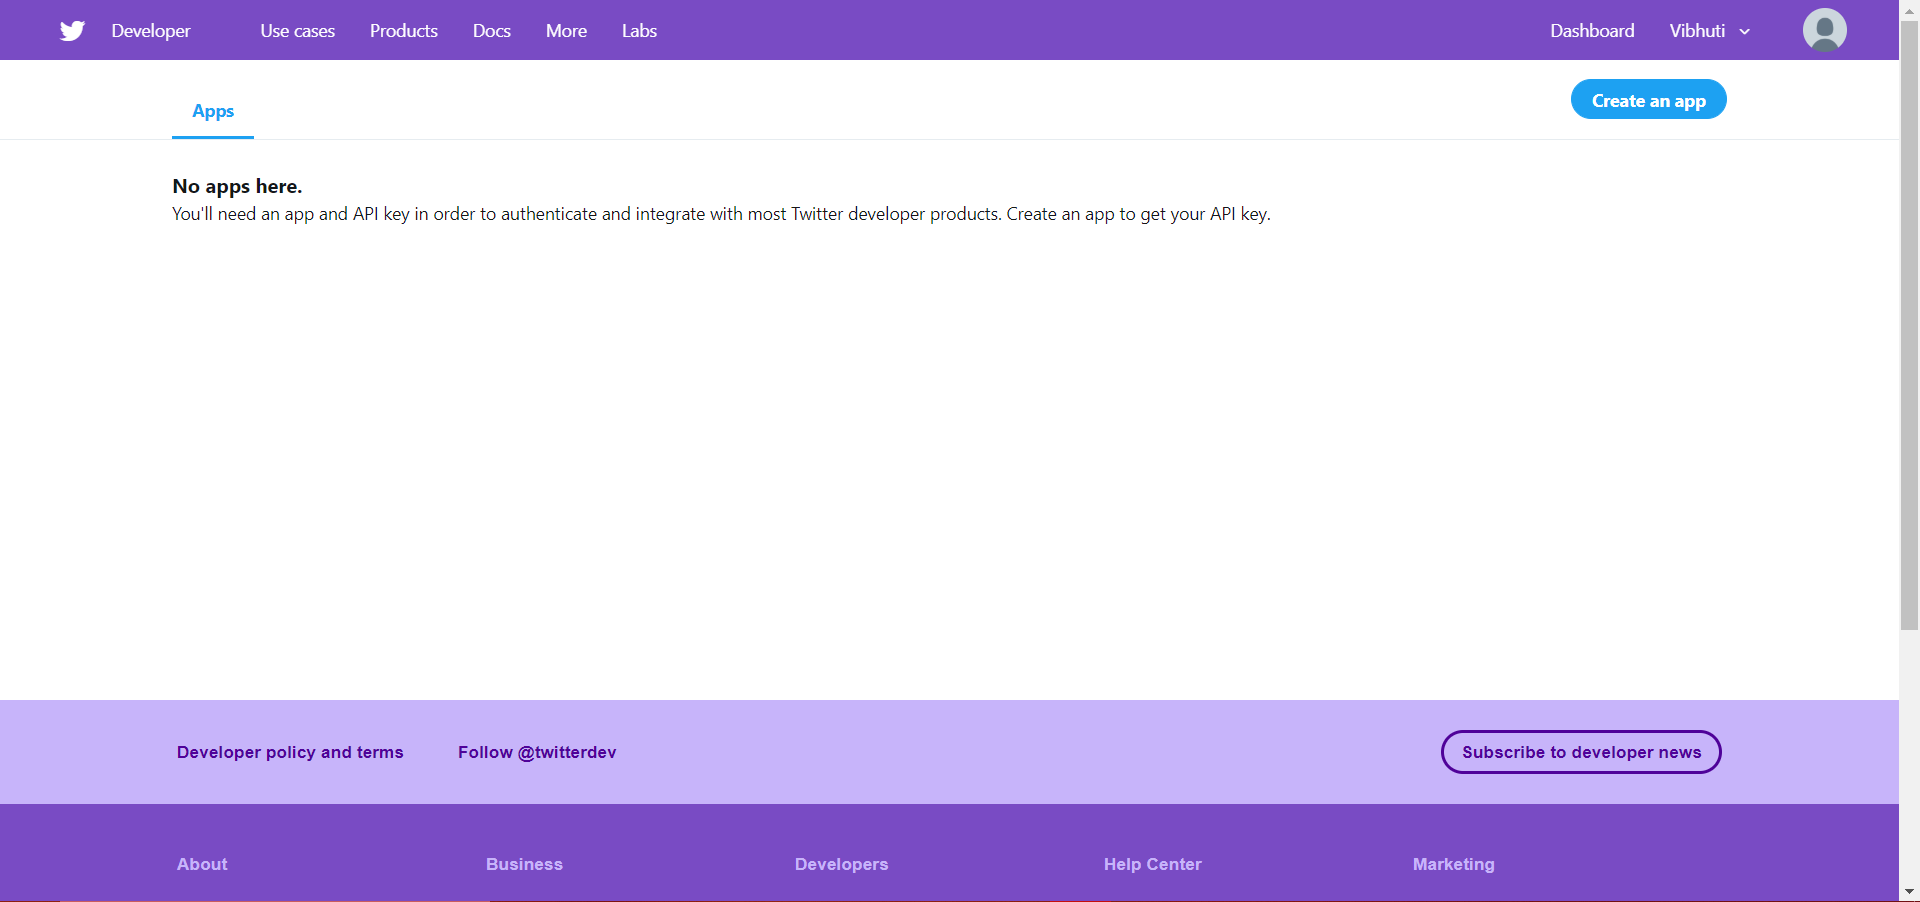
- In the new open form, fill all the required details.
- Click on the ‘Create’ button.
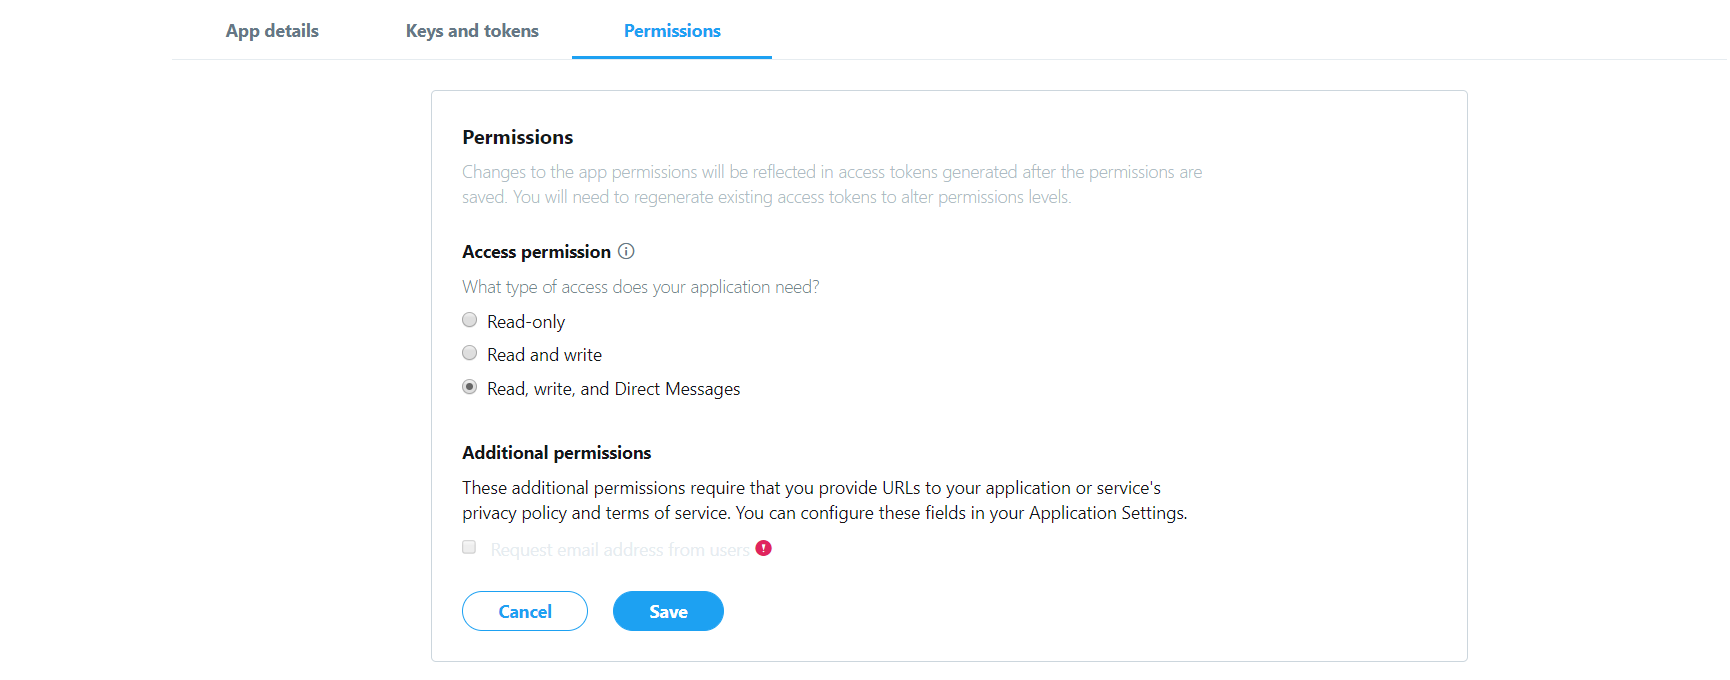
- The application permission mode needs to be selected for the app.
- Select Read, Write, and Access direct messages.
- Click on the ‘Save’ button.
- Open the ‘Settings’ tab.
- Fill all the required details.
- Click on ‘Update Settings’.
- Open the Permissions tab again.
- Enable ‘Request email from users’.
- Click on ‘Update Settings’ again.
- The app ‘Consumer Key’ and ‘Consumer Secrets’, will be available at the ‘Key and Access Tokens’ tab.
Example:
In the below example, we are integrating login through a Twitter account in an Android app.
build.gradle (Module):
In the ‘build.gradle’ (Module) file, we will write the code to add the following twitter dependencies.
Code:
apply plugin: 'com.android.application' android { compileSdkVersion 28 defaultConfig { applicationId "com.example.radioapp" minSdkVersion 23 targetSdkVersion 28 versionCode 1 versionName "1.0" testInstrumentationRunner "android.support.test.runner.AndroidJUnitRunner" } buildTypes { release { minifyEnabled false proguardFiles getDefaultProguardFile('proguard-android-optimize.txt'), 'proguard-rules.pro' } } sourceSets { main { assets { srcDirs 'src/main/assets', 'src/main/res/assets/' } } } } dependencies { implementation fileTree(dir: 'libs', include: ['*.jar']) implementation 'com.android.support:appcompat-v7:28.0.0' implementation 'com.android.support:support-v4:28.0.0' implementation 'com.android.support:support-annotations:28.0.0' implementation 'com.android.support.constraint:constraint-layout:1.1.3' implementation 'com.android.support:design:28.0.0' testImplementation 'junit:junit:4.12' androidTestImplementation 'com.android.support.test:runner:1.0.2' androidTestImplementation 'com.android.support.test.espresso:espresso-core:3.0.2' implementation 'com.google.zxing:core:3.2.1' compile 'com.twitter.sdk.android:twitter:3.1.1' compile 'com.twitter.sdk.android:twitter-core:3.1.1' android { useLibrary 'org.apache.http.legacy' } } |
build.gradle (Project):
In the ‘build.gradle’ (Project) file, the “jcenter()” should be present.
strings.xml:
In the strings.xml file, the ‘Consumer Key’ and ‘Consumer Secret’ generated by Twitter should be placed.
AndroidManifest.xml:
<?xml version="1.0" encoding="utf-8"?> <manifest xmlns:android="http://schemas.android.com/apk/res/android" xmlns:tools="http://schemas.android.com/tools" package="com.example.radioapp"> <uses-permission android:name="android.permission.INTERNET" /> <application android:allowBackup="true" android:icon="@mipmap/ic_launcher" android:label="@string/app_name" android:theme="@style/AppTheme" > <activity android:name=".MainActivity" android:label="@string/app_name" > <intent-filter> <action android:name="android.intent.action.MAIN" /> <category android:name="android.intent.category.LAUNCHER" /> </intent-filter> </activity> <activity android:name=".HomeActivity" /> </application> </manifest> |
activity_main.xml:
In the activity_main.xml file, we will write the code to add the Twitter login button provided by the Twitter API.
Code:
<?xml version="1.0" encoding="utf-8"?> <RelativeLayout xmlns:android="http://schemas.android.com/apk/res/android" xmlns:app="http://schemas.android.com/apk/res-auto" xmlns:tools="http://schemas.android.com/tools" android:layout_width="match_parent" android:layout_height="match_parent" tools:context=".MainActivity"> <com.twitter.sdk.android.core.identity.TwitterLoginButton android:id="@+id/login_button" android:layout_width="wrap_content" android:layout_height="wrap_content" android:layout_centerHorizontal="true" android:layout_centerVertical="true" android:layout_alignParentBottom="true" android:layout_marginBottom="40dp"/> </RelativeLayout> |
MainActivity.java:
In the MainActivity.java file, we will write the below code. The ‘Twitter.initialize(this)’ code should be placed before the ‘setContentView(R.layout.activity_main)’. The Twitter button will disable, when the ‘Twitter.initialize(this)’ is placed after the ‘setContentView(R.layout.activity_main)’.
Code:
package com.example.radioapp; import android.content.Intent; import android.support.v7.app.AppCompatActivity; import android.os.Bundle; import android.util.Log; import android.widget.Toast; import com.twitter.sdk.android.core.Callback; import com.twitter.sdk.android.core.DefaultLogger; import com.twitter.sdk.android.core.Result; import com.twitter.sdk.android.core.Twitter; import com.twitter.sdk.android.core.TwitterAuthConfig; import com.twitter.sdk.android.core.TwitterAuthToken; import com.twitter.sdk.android.core.TwitterConfig; import com.twitter.sdk.android.core.TwitterCore; import com.twitter.sdk.android.core.TwitterException; import com.twitter.sdk.android.core.TwitterSession; import com.twitter.sdk.android.core.identity.TwitterLoginButton; public class MainActivity<config> extends AppCompatActivity { TwitterLoginButton loginButton; @Override protected void onCreate(Bundle savedInstanceState) { super.onCreate(savedInstanceState); Twitter.initialize(this); setContentView(R.layout.activity_main); loginButton = (TwitterLoginButton) findViewById(R.id.login_button); loginButton.setCallback(new Callback<TwitterSession>() { @Override public void success(Result<TwitterSession> result) { // Do something with result, which provides a TwitterSession for making API calls TwitterSession session = TwitterCore.getInstance().getSessionManager().getActiveSession(); TwitterAuthToken authToken = session.getAuthToken(); //String token = authToken.token; // String secret = authToken.secret; loginMethod(session); } @Override public void failure(TwitterException exception) { // Do something on failure Toast.makeText(getApplicationContext(),"Unable to Login",Toast.LENGTH_LONG).show(); } }); } public void loginMethod(TwitterSession twitterSession){ String userName=twitterSession.getUserName(); Intent intent= new Intent(MainActivity.this,HomeActivity.class); intent.putExtra("username",userName); startActivity(intent); } @Override protected void onActivityResult(int requestCode, int resultCode, Intent data) { super.onActivityResult(requestCode, resultCode, data); // Pass the activity result to the login button. loginButton.onActivityResult(requestCode, resultCode, data); } } |
activity_home.xml:
The user after a successful login will be redirected to this activity.
Code:
<?xml version="1.0" encoding="utf-8"?> <RelativeLayout xmlns:android="http://schemas.android.com/apk/res/android" xmlns:app="http://schemas.android.com/apk/res-auto" xmlns:tools="http://schemas.android.com/tools" android:layout_width="match_parent" android:layout_height="match_parent" tools:context=".HomeActivity"> <TextView android:id="@+id/textView" android:layout_width="wrap_content" android:layout_height="wrap_content" android:text="Hello World!!" android:textSize="20dp" android:layout_centerHorizontal="true" android:layout_alignParentTop="true" android:layout_marginTop="40dp" /> <TextView android:id="@+id/nametextView" android:layout_width="wrap_content" android:layout_height="wrap_content" android:layout_alignLeft="@+id/textView" android:layout_alignStart="@+id/textView" android:layout_below="@+id/textView" android:layout_marginTop="48dp" android:textSize="16dp" android:text="" /> </RelativeLayout> |
HomeActivity.java:
In the HomeActivity.java file, we will write the code to display the user name received from the ‘MainActivity.java’ file in TextView.
Code:
package com.example.radioapp; import android.support.v7.app.AppCompatActivity; import android.os.Bundle; import android.widget.TextView; public class HomeActivity extends AppCompatActivity { TextView name; String user; @Override protected void onCreate(Bundle savedInstanceState) { super.onCreate(savedInstanceState); setContentView(R.layout.activity_home); user=getIntent().getStringExtra("username"); name=(TextView)findViewById(R.id.nametextView); name.setText(user); } } |
Output 1:
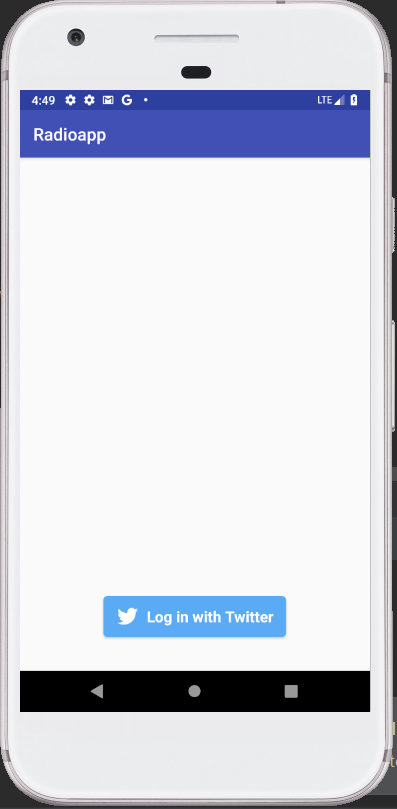
Output 2:
